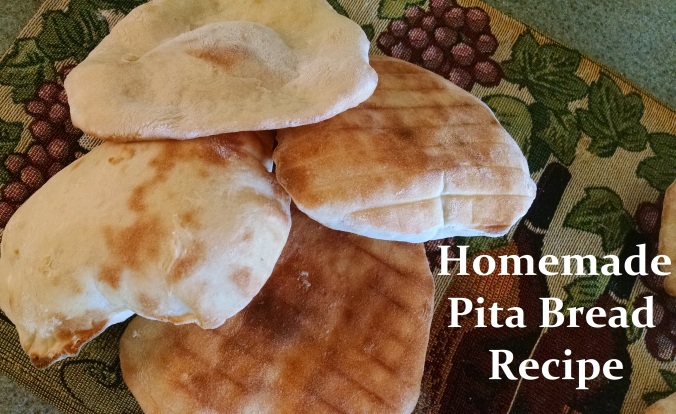
I love a good pita bread, but for some reason, I have always had a hard time finding them in stores. I love stuffing them with all sorts of different sandwich ingredients, and they are not only tasty, but fun to eat as well. So when I moved to the bush, I figured that if I couldn’t find a recipe, I would just have to kiss them goodbye. However, my favorite Family and Consumer Sciences Teacher from Middle School (and a good friend of my mom and family as well!) told me about a bread book she had that she would give me when I said that I was planning on baking my own bread here in Alaska. To my great surprise and joy, one of the first recipes in the book was for pita bread! I made them the other day and just had to share the recipe with all of you!

The original recipe.
I have added some of my own language, clarifications and tips to the recipe below, but all credit goes to “Fleischmann’s Bake it Easy Yeast Book” given to me by Susan Teelin. If you make the recipe please comment and let me know how it is! I’m going to try the whole-wheat substitution soon!

Makes 12 Pitas
Time:
Prep- 40 min
Rest- 40 min
Cooking- 5-7 min (each tray)
__________________________
Approximate Total- 1 hr. 30 min
Ingredients:

Ingredients and some of the equipment.
5 cups All-purpose flour
1 ½ teaspoons salt
1 teaspoon sugar
1 package Rapid Rise yeast (I used Red Star Rapid Rise in the jar- 2 ½ teaspoons)
1 ¾ cups water
2 Tablespoons Peanut Oil (I only had vegetable oil, and that seemed to work fine)
Equipment:
Large Mixing Bowl
Small Bowl (optional)
1 Cup dry measuring cup
¼ cup dry measuring cup
Liquid measuring cup
Wooden Spoon
2 cookie trays
Plastic cling wrap or Press and Seal Wrap
Large Pan (an 8 ½ x 11 cake pan works well)
Large Cooling Rack
Rolling Pin (a glass or a wine bottle work well too)
Ove-Glove or Potholders
Kitchen Timer
Oven
Surface large enough to knead the bread
Substitutions:
• You can use regular vegetable oil instead of peanut oil, if you have allergies. Vegetable oil has less flavor, but works just as well.
• To make these whole wheat substitute 2 cups whole wheat flour and 2 ½ all-purpose flour for the original 5 cups all-purpose.
*I am the kind of baker who puts things away as I use them in the recipe. Do this to make sure you don’t miss any ingredients. However, leave the flour out because you will use it a bunch of times for kneading and such.
*Careful when doing this recipe using the oven. I don’t normally cook things at 500 and it was really hot. Like I opened the door to look in and got hit in the face with really hot air, possibly from Hades itself. Ouch. Also make sure to use good potholders or an Ove-glove (I swear by mine- it is seriously one of the best wedding shower gifts I received) because you will come very close to grabbing the actual oven rack, because you are using a rack to bake on and not a cookie sheet with edges.
Steps:
1. Set aside one cup of flour.

2. Mix the remaining 4 cups of flour in the large mixing bowl with the salt, sugar and yeast.
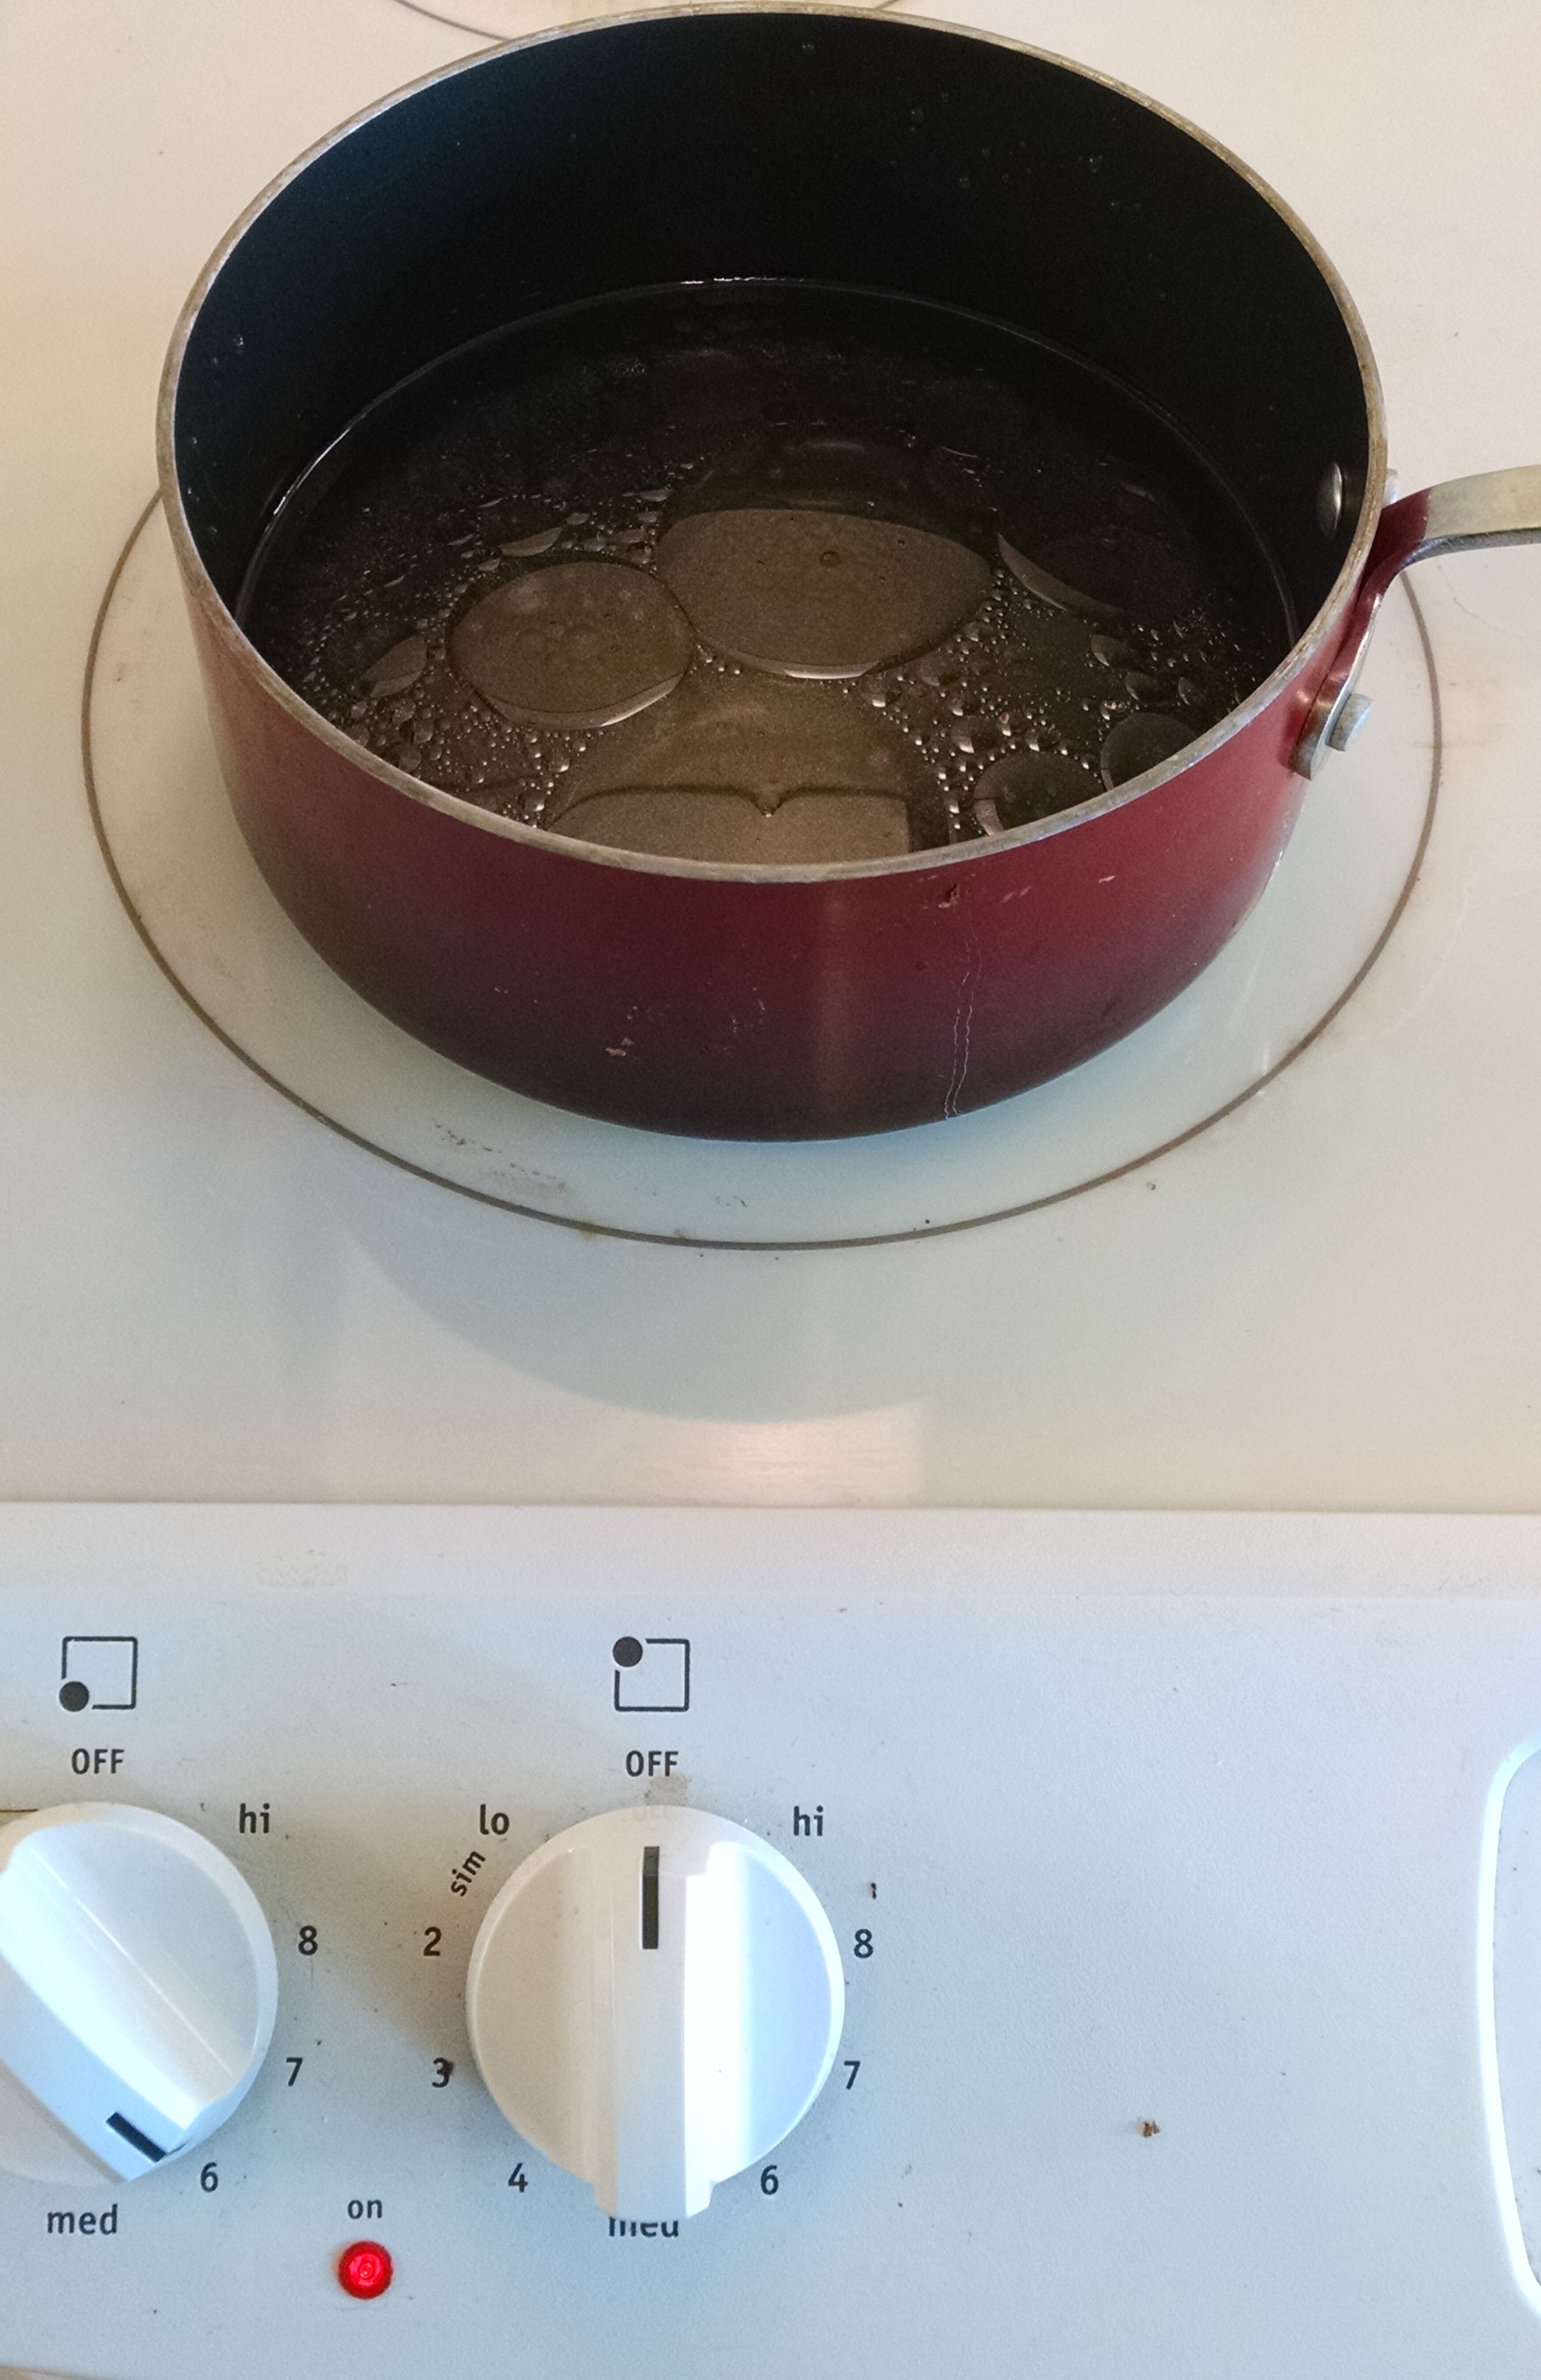
3. On the stove heat your oil and water until it is hot to the touch (approx. 125-130 F). You don’t have to use a thermometer, but it shouldn’t get to a boil. It took me about 5 minutes on medium high heat.

4. Mix the water/oil into the dry ingredients. Add some of the reserve flour until you have a soft dough that doesn’t stick to your hands.
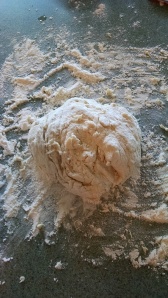
What your dough should look like before kneading.
5. Knead on a lightly floured surface, using floured hands. Knead until the dough is smooth, and bouncy (elastic). This should take about 8 -10 minutes.
6. Place the dough back in the bowl, Cover it, and let it rest for 10 minutes. During this time, I usually clean up my workspace, and begin to set up for the next steps.

tick tock
7. Take the dough out of the bowl, divide it into 12 equal sized pieces. Shape each of them into smooth balls and place them on a baking sheet.

Halfway divided.
8. Cover the dough and let it rise win a warm draft free place for 30 minutes. A good way to do this is heat some water and put it in a large cake pan on the bottom rack of your oven. Then place the cookie sheets of dough on the rack above the pan. Do NOT turn the oven on. This provides an ideal environment for the dough to rise.

The dough rising setup in my oven.
9. After your dough has risen take the dough and pan of water out of the oven, and preheat it to 500 degrees F.
10. Roll each ball into a 5 inch circle on a lightly floured surface with a rolling pin, or something similar. **The thinner you roll the dough the crispier your pita will be after cooking.

My cooling rack was only big enough to hold three 5 inch pitas at a time.
11. Place up to 6 dough circles on a cooling rack. Place the cooling rack on the bottom rack in your oven and bake for 5 – 7 minutes. The pita should puff right up in the oven, and just begin to brown on the top when it is done. The bottom will be a darker, more even brown.

Pitas puffing up in the oven! (Please forgive my dirty window!)
12. Cool on a separate rack, or some towels. Repeat until all the dough is cooked. **Caution- the puffed up pitas will contain VERY hot air, and you could burn yourself so be careful!
13. Store the Pitas in an airtight container or ziplock bags to keep fresh and chewy. Cut the cooled Pita bread in half and enjoy with your favorite sandwich ingredients!
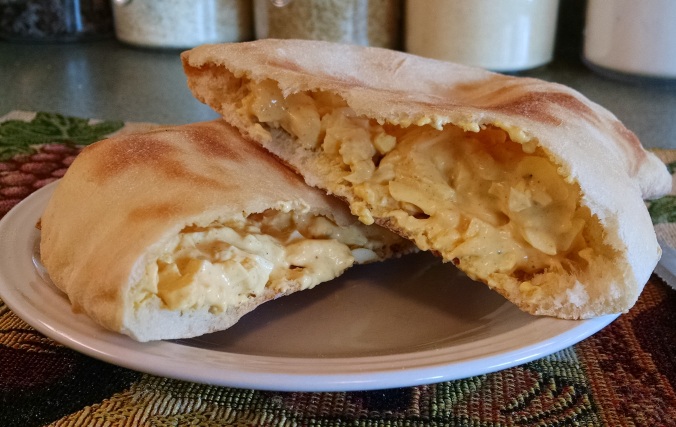
The Pita is only as good as it’s sandwich fixings! Yummy egg salad was the first thing I had to eat!
Feel free to share, but please link back to my blog! Thanks for reading, and happy baking!